I’m on holiday and am super keen to discover the city I’m visiting…so what do I need to pack? Map, bottle of water, snacks, my phone, my phone charger, an additional power bank and my wallet. And my camera bag, too: camera, camera charger, spare battery and an extra lens. That’s a lot of stuff and it’s heavy! Travelling in the South in particular I felt really sweaty lugging around so much stuff. That’s why I sometimes prefer to use my smartphone to take pictures wandering around. There are a few tricks that can help you get the best out of smartphone photographs like this one:

If you need more suggestions, you’ve come to the right place. Hae a look at my tips for smartphone photography.
TIPS FOR SMARTPHONE PHOTOGRAPHY – BEFORE THE PICTURE
Taking a good picture requires more than just finding a subject and pressing a button. You really have to think about what you want to capture and how beforehand. And choose your camera settings wisely. Here are a couple of tips and settings that can help you get that perfect snapshot:
- Activate the HDR function: You may have already discovered the small icon HDR that is located on your phone display. But what does it do? Well, that’s easy: the HDR function helps achieve perfect exposure. When HDR is activated, your camera will take a couple of pictures using different exposures. One shot will have a better exposure of lighter areas and one of darker areas. HDR combines these images to create a picture that is perfectly exposed so you can see all the details. This setting works well for static subjects, such as buildings or sunsets. Pretty professional for smartphone photography, right?
- Prevent blurriness. Of course most of these tips are aimed at helping you take great pictures on the go. But sometimes you can do with a little help, such as a tripod. Many fans of smartphone photography don’t have a steady hand, so make sure you adhere to the following rules: rest your arm on a static object, such as a wall or lamppost, or invest in a small tripod. Blurry pictures are a no go. Sidebar: Some smartphones have a stabiliser that can mitigate small shakes. If you have a tendency to really shake it up though that won’t be enough.
- Reference lines are crucial! If you can activate these on your phone, do it. They divide the picture into thirds, both horizontally and vertically. That way you won’t have to tilt the picture much during the editing process.
TIPS FOR SMARTPHONE PHOTOGRAPHY – COMPOSITION
- Open your eyes when you’re choosing your subject! What does that mean? It’s simple: As great as the quality of your smartphone camera may be, it makes no sense to take a picture of a plane in the sky or a pigeon on the roof. Phone cameras have a wide-angle lens. They are ideal for subjects such as landscapes because you will be able to fit it all in. So make sure you think about what you want to photograph first. Do you want a close up of a ladybird on a leaf, a portrait of someone or a landscape picture? When too many things are going on at once in a picture it becomes distracting. Pick a detail and hone in on it.
- Smack dab in the middle isn’t always the best choice. If you are taking a shot at the ladybird on a leaf or a portrait, your chosen subject does not have to be in the middle. A person looks great, for example, if they are leaning towards the edge of the picture. And leave some space for some foliage next to the ladybird. Always ask yourself: what’s the added value of the background? How much do I want to show and how much do I have to show for the original subject to remain the centre of attention?

- Smartphone flash – hot or not? I definitely recommend using the flash only if it’s absolutely necessary. Artificial light is never very flattering. It makes people’s skin look shiny, and creates weird shadows and red eyes. Your pictures will simply look more natural without a flash.
- Landscapes get old pretty quickly. I know I told you to pick a subject and stick with it. Regardless, I’d recommend adding something when photographing landscapes. Include a person in the forefront to show the sheer size of it all! Landscapes come across as one-dimensional pretty quickly, so add a second dimension in the front and there you are – the perfect Lilies Diary picture!

- The horizon has to be straight. Ok, I have to admit, I am a sucker for clear lines. That’s why I have one hard and fast rule: the horizon has to be straight. If reference lines aren’t really your thing, you can be as artistic with smart phone photography as you wish and let the sea run out of the picture. But let’s be honest – what do you prefer?
TIPS FOR SMARTPHONE PHOTOGRAPHY – HIGH QUALITY PICTURES!
- Don’t zoom, just get closer. Do yourself a favour and use the built-in zoom as little as possible. Even just a bit of zooming worsens the quality of your picture. That’s why I stick by the rule ‘legs are the best zoom’ – just get a bit closer!
- Quantity definitely helps boost quality. I wish I had some statistics to back me up. Based on experience alone, I reckon that out of 20 shots there’s one good picture. How I work: take a picture, check what I like and what I don’t like, make some changes, take the picture again and maybe change my position. Sometimes I end up not liking a particular subject or angle, so it’s always good to have lots of pictures to choose from.
- For all you selfie kings and queens: Yes, that built-in front camera is a great invention. But if you want to take a high-quality selfie, please use the main camera!
TIPS FOR SMARTPHONE PHOTOGRAPHY – INTERESTING CAMERA APPS
Your think your smartphone is only as good as the preinstalled camera app? Nope! Some preinstalled apps don’t even have HDR. But that doesn’t mean that your camera isn’t able to take HDR pictures. You can simply download the right app for that. There’s Fotor HDR, HDR+ Camera or ProCam 2. If you don’t want to focus on HDR, you can also use Manual Camera or Camera FV-5. Both of these apps let you determine all camera settings manually. For professional smartphone photographers!
TIPS FOR SMARTPHONE PHOTOGRAPHY – EDITING APPS
Editing pictures is pretty standard in our times of Instagram and Facebook, especially in smartphone photography. Your preinstalled editor will have a few simple options. If you love filters, get your hands on VSCO – the Number 1 filter app. It has everything you could possibly want. I recommend using Snapseed for more dramatic and colourful pictures. And if you are oldschool, use the Photoshop App.
I hope this article motivates you to take even better pictures with your smartphone – it’s a lot of fun! If you have tips, leave them in the comments section and give your fellow readers a hand.
TIPS FOR BETTER SMARTPHONE PHOTOGRAPHY – WIN THE PERFECT PHONE!
If you’ve not yet found the perfect phone with a great camera for smartphone photography, look no further! Ever heard of Honor? This young brand is top of the gadget lists and its Honor 7 is an absolute winner. Honor 7 includes an incredible 20 MegaPixel camera. Take amazing selfies using the 8 MP front camera or try out the different settings: timelapse, panorama and different modes, such as food or light painting.
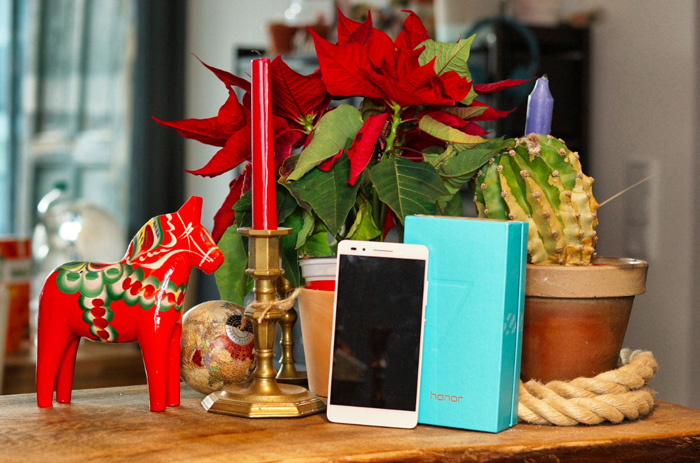
You can find all the details about the phone here. Key data on Honor 7:
– Faster and more responsive touch sensors: quick fingerprint scanner, intelligent voice activation, user-defined smart button
– 20 MegaPixel main camera and 8 MegaPixel front camera for capturing important moments
– Top design with amazing features: 5.2 inch full HD display with an aluminium casing
– Long battery life with 3100 mAh, Smart Power 3.0, reverse charging function
– High performance: up to 2.2 GHz Kirin 935 Octa core processor with 64 bit architecture and revolutionary heat-reducing technology
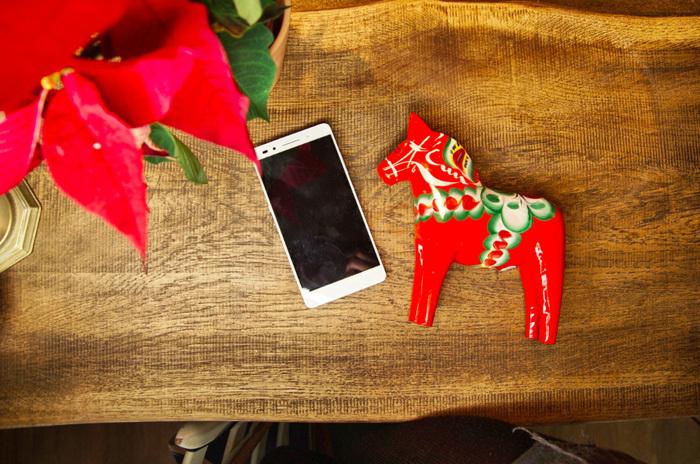
This post on smart phone photography was written in cooperation with Honor.
